DHCP Migration
About
This guide will help you migrate any Microsoft DHCP server from one to another.
This works with all versions including 2012.
In this demo I will use 2012.
Beginning the export process on Windows Server 2003

-
On the Windows 2003 DHCP server, navigate to a command prompt
-
Type the following Command: netsh
-
Type the following Command: DHCP
-
Type the following Command: server Name or IP Address
-
Type the following Command: export c:\olddhcpdb all
Note You must have local administrator permissions to export the data.
Importing the DHCP database on Windows Server 2012
-
Copy the exported DHCP database file to the local hard disk of the Windows Server 2008-based computer.
-
Select Role-based of featured-based installation and select Next.

-
Once the DHCP install has been completed, select DHCP located in the Server Manager dashboard
-
Right click the designated DHCP server in the services pane, then select Stop.
-
Delete the DHCP.mdb file under c:\windows\system32\DHCP folder.
-
Return to DHCP located in the Server Manager dashboard
-
Right click the designated DHCP server in the services pane, then select Start.
-
Right-click on the bottom left hand side of the desktop screen to invoke the admin menu
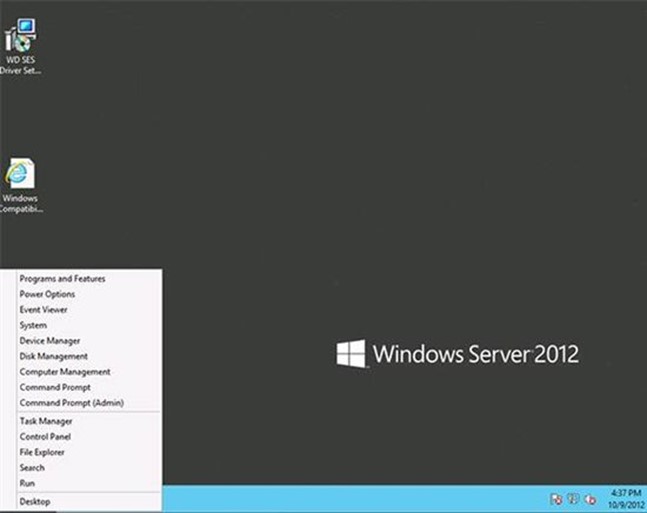
-
Select Command Prompt (Admin) to open the cmd prompt using elevated privileges.
-
Type the following Command: netsh
-
Type the following Command: DHCP
-
Type the following Command: server \\Name or IP Address
-
Type the following Command: import c:\olddhcpdb
-
Close the command prompt when completed.
-
Return to DHCP located in the Server Manager dashboard.
-
Right click the designated DHCP server in the services pane, then select Restart.
-
Disable and remove DHCP from the Windows 2003 server.


Simply setup your scope options for your new Windows Server 2012 DHCP server and then Authorize it within your domain and the migration is complete.
